

So here is my easy-peasy DIY Headboard tutorial..well it's not only easy but also affordable. All you need is your time and effort to do this thing..of course, a little bit of money! Hehe. I used the drop cloth for the fabric because I still have like 2 yards left over from the basket liner project .. so why not use it?! I gathered all my supplies and checked which I still needed to buy at the store. Hmm, I still needed a lot of materials.

So I went to Home depot. I bought a piece of 5/8-inch thick plywood cut down to 65"x36". I had them cut it to the middle so it would fit in my SUV. I also took with me all the leftovers from the whole thing.

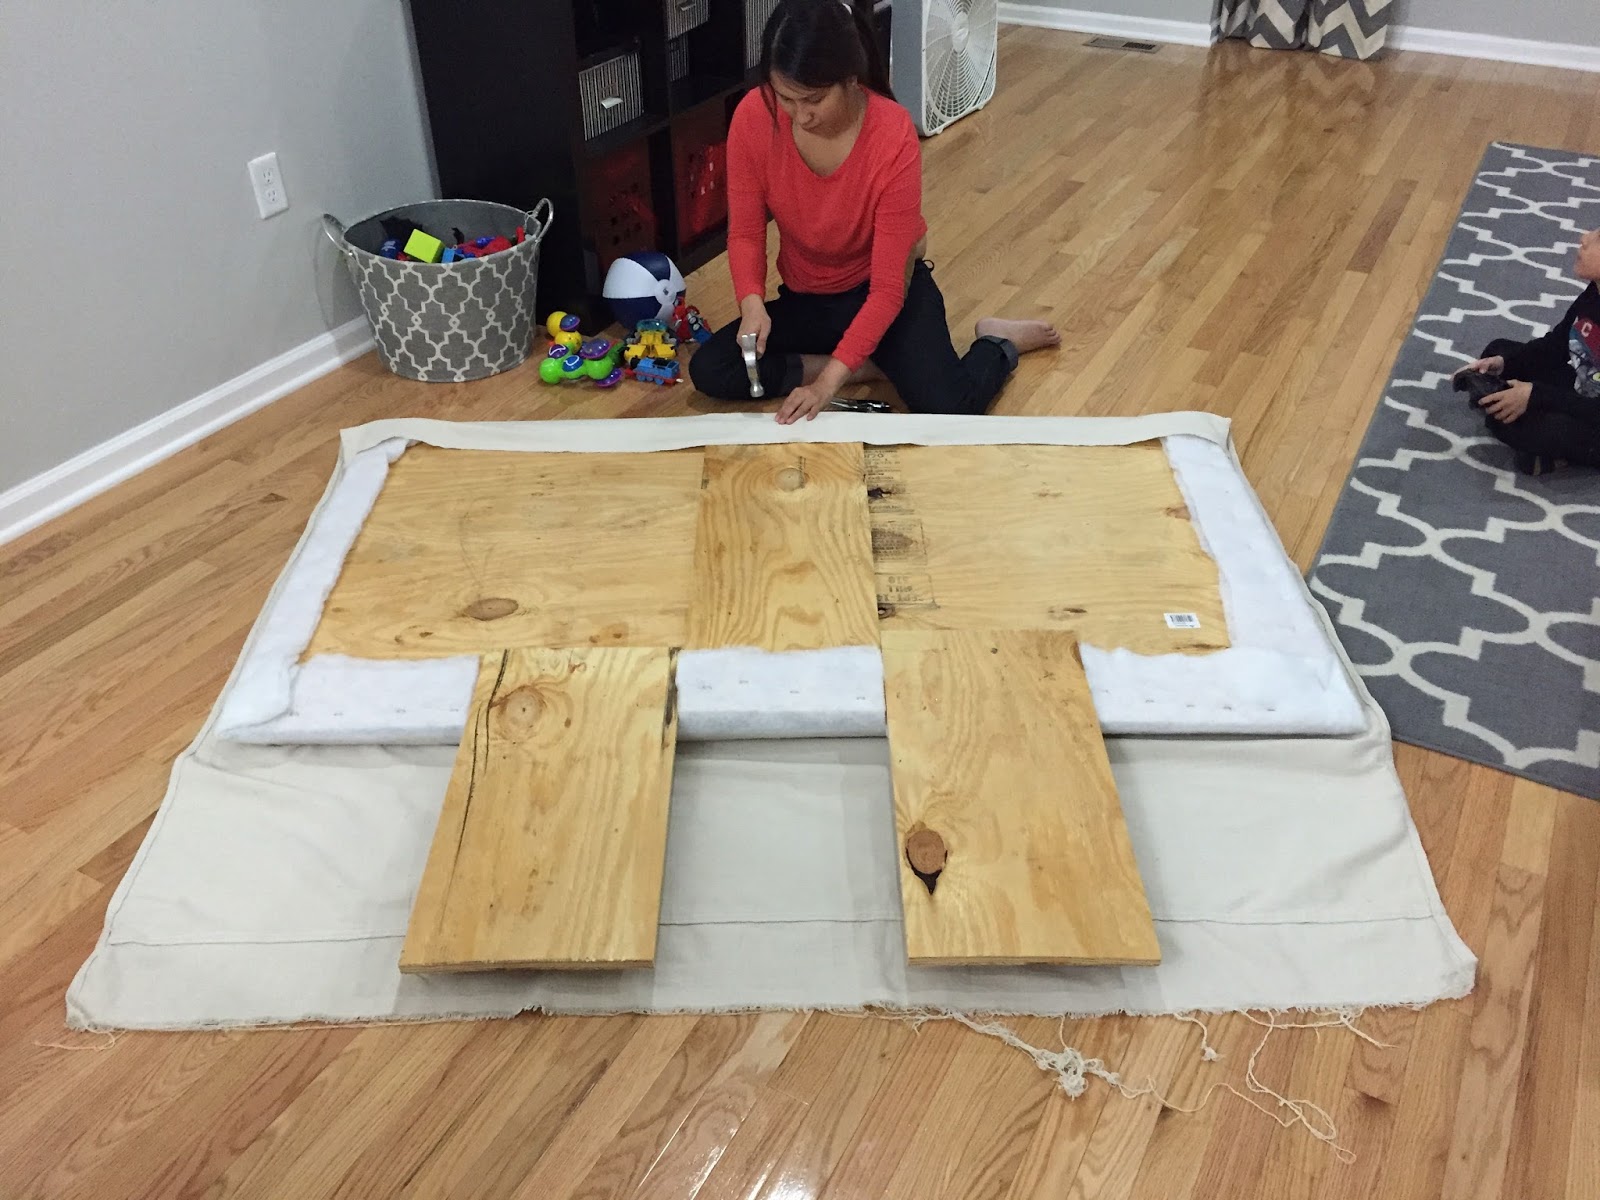
When I came home. I called my hubby (to do the hammering/ nailing for me). We used the scrap to hold the plywood together.

And we used a saw to cut two 17-inch plywood from extra pieces to use as legs. After that, I measured the sides, left an inch mark for spacing for the Nailhead trims then cut the foam according to the size I did. I used a foam topper instead of the custom size you get at Joann's and online. I bought mine at Walmart because it was much cheaper. I glued the foam to the plywood so it won't move.


So, before I stapled the drop cloth. I washed it first and then ironed it. Don't skip this part! It is essential.


After I'm done with all the stapling part..(oh boy, I'm telling you! you are gonna use many staples!) It's time for the hammering part! Which I also got at Walmart.

I left an inch of space for the nailhead trim because it won't hold it if I pushed it through the thick foam. The nails are 2 inches apart. I worked all the way to both sides. I didn't go around since the bottom part was not visible, and besides, my hands were so tired from all the nailing.

And there! I'm finished! Whew!
B E F O R E :

A F T E R :

Better with the Headboard, right?
As for the budget breakdown:
Plywood (total is $26, but I got a $10 gift card plus tax): $23
Batting (queen size): $11.97
2 Foam Topper (Full size): $23.74 ($11.87)
Glue Spray: $8.97
4 packs of Nailhead trims: $5.48 ($1.37 each)
Heavy-duty Stapler & staples (owned): $0
The fabric, which is the Drop cloth (I have one already): $0
Total spent: $73.16!
Compare this to the one I wanted at Target here and other stores that sell Headboard priced in the $200 - $400 range. I'll take the latter, please! So any Guests want to sleep over? lol.
Thanks for reading! Happy Thanksgiving to you all!


0 comments:
Post a Comment